Help
Create A ScrapeMap
The ScrapeMap Explorer pane is where you create new ScrapeMaps in the web scraper ScrapeMate. Working in the Source Browser Pane, the first step is to open the website that will be the target for web scraping. Filter and sort the web data as desired. When you have the data you wish to target organized the way you want click on the Create ScrapeMap icon.

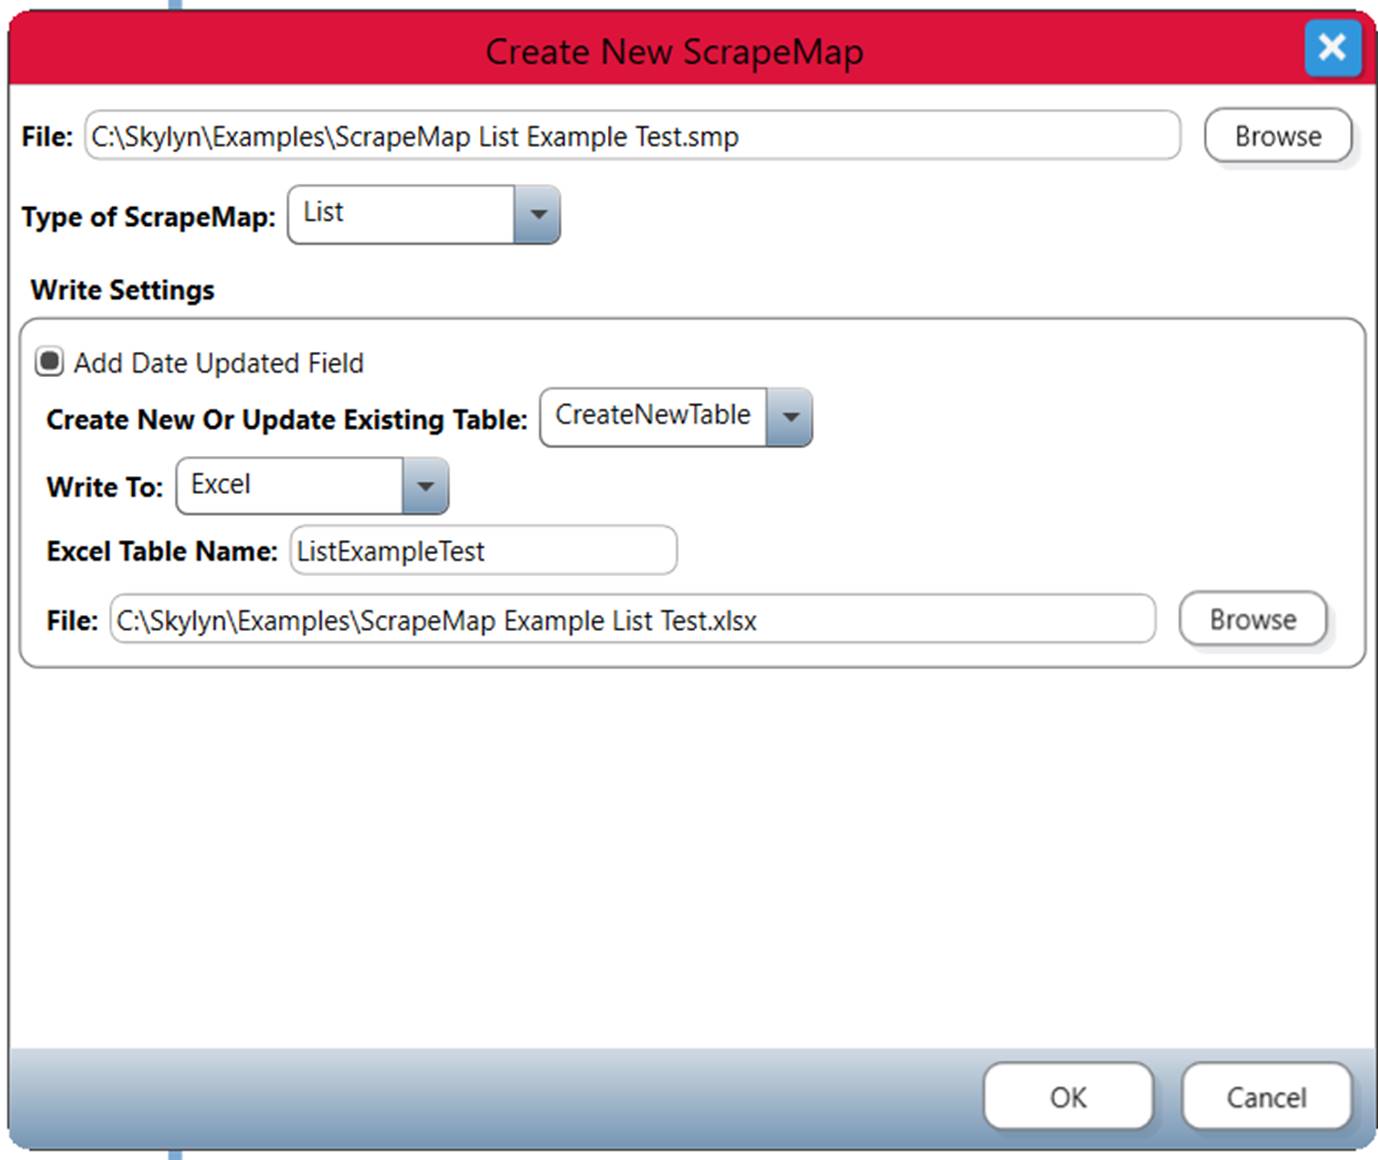
After clicking Create on the toolbar, the following Dialog Box is opened. The first File area is used to browse to the file path where the ScrapeMap program will be written. The user browses to the folder, then types in a new file name for the ScrapeMap in the folder and clicks ‘Open’ to create the file. In screenshot below the new ScrapeMap file name will be “C:\SkyLyn\Examples\ScrapeMap List Example Test.smp”. All ScrapeMap files will have an extension of .smp.
The Create New ScrapeMap Dialog Box is where the Type ScrapeMap is set, in the screenshot below it will be a List ScrapeMap. Write Settings are specified for the new ScrapeMap output. In this case the Write To file output is set to Excel. When writing to Excel the user should specify the Excel Table Name and the name cannot contain spaces or special characters. In this case, the Excel Table Name is ListExampleTest.
The File area at the bottom of the dialog box enables the user to browse to the file path where the output file will be written. The user can Browse to the folder, enter a new output file name and click Open to create the Excel file. In this example the output file name is ‘ScrapeMap Example List Test.xlsx’ and the file path is C:\SkyLyn\Examples\ScrapeMap Example List Test.xlsx
After clicking OK at the end of the dialog box, an empty Root InstructionSet is displayed in the ScrapeMap Explorer Pane.
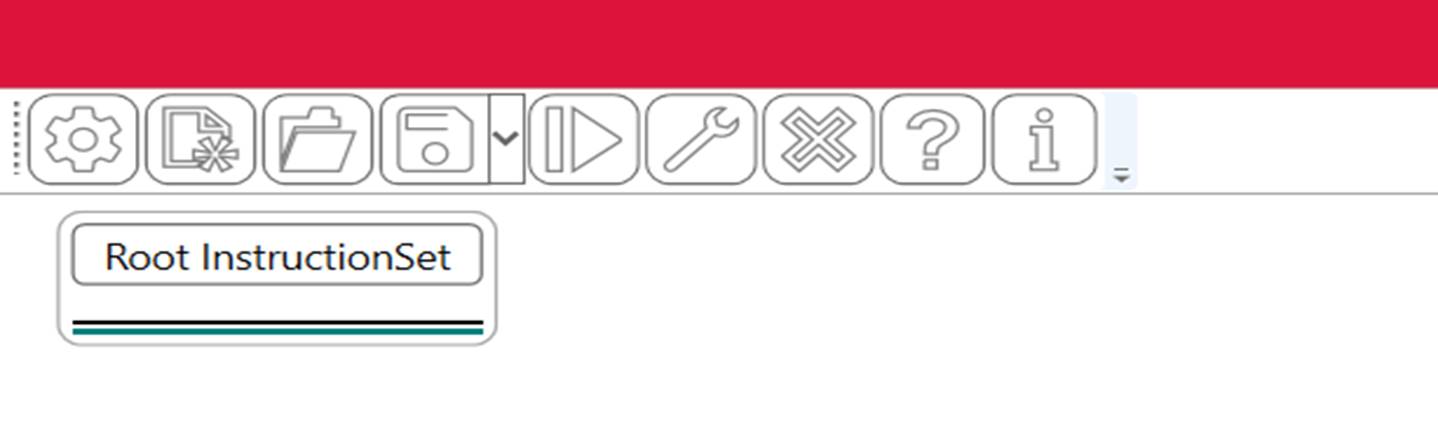
This is where the DataAddresses and Actions are created, through interactions with data on the website in the Source Browser Pane.